The challenges of audio capture in lecture halls and how to fix them
Getting it right isn’t always easy
Lecture capture is a staple of modern education, enabling students to revisit material, support hybrid learning, and access content anytime, anywhere. But let’s be honest - getting it right isn’t always easy, especially when it comes to clear, reliable audio.
The challenges of lecture audio capture
Bad audio = bad learning
Poor sound quality is the fastest way to ruin a lecture recording, in-room voice lift, or hybrid lecture streaming. If students can’t hear clearly - whether in the classroom, on a recording, or joining remotely - due to muffled voices, background noise, or a mic that doesn’t capture the whole room, the learning experience suffers.
Complicated setups
Some systems require professors to manually turn on the mics, wear uncomfortable mics, and rely on AV teams to troubleshoot issues. If the system isn’t seamless, it often gets ignored or used incorrectly.
Missed student voices
Lecture audio capture usually focuses on the professor. But if students ask questions or participate in discussions, their voices are often lost unless they walk up to a podium mic (which rarely happens), especially in large lecture halls.
Ceiling microphone limitations
Some institutions opt for ceiling-mounted array microphones, thinking they’ll capture sound across the entire lecture hall. However, these systems often struggle with background noise and audio clarity making them unreliable.
Fixing these issues
Better microphones
High-quality, easy-to-use mics that work for both the lecturer and students ensure that every voice is captured clearly.
Seamless setup and usage
A system that doesn’t require constant adjustments or troubleshooting makes adoption easier.
Designed for engagement
A microphone solution that encourages interaction while ensuring everything is captured.
Why Catchbox Plus works for universities
Simple and reliable
The system is user-friendly - professors don’t need to be tech experts to use it. They pick up the mics from the wireless chargers, and they’re ready to go.

Encourages participation
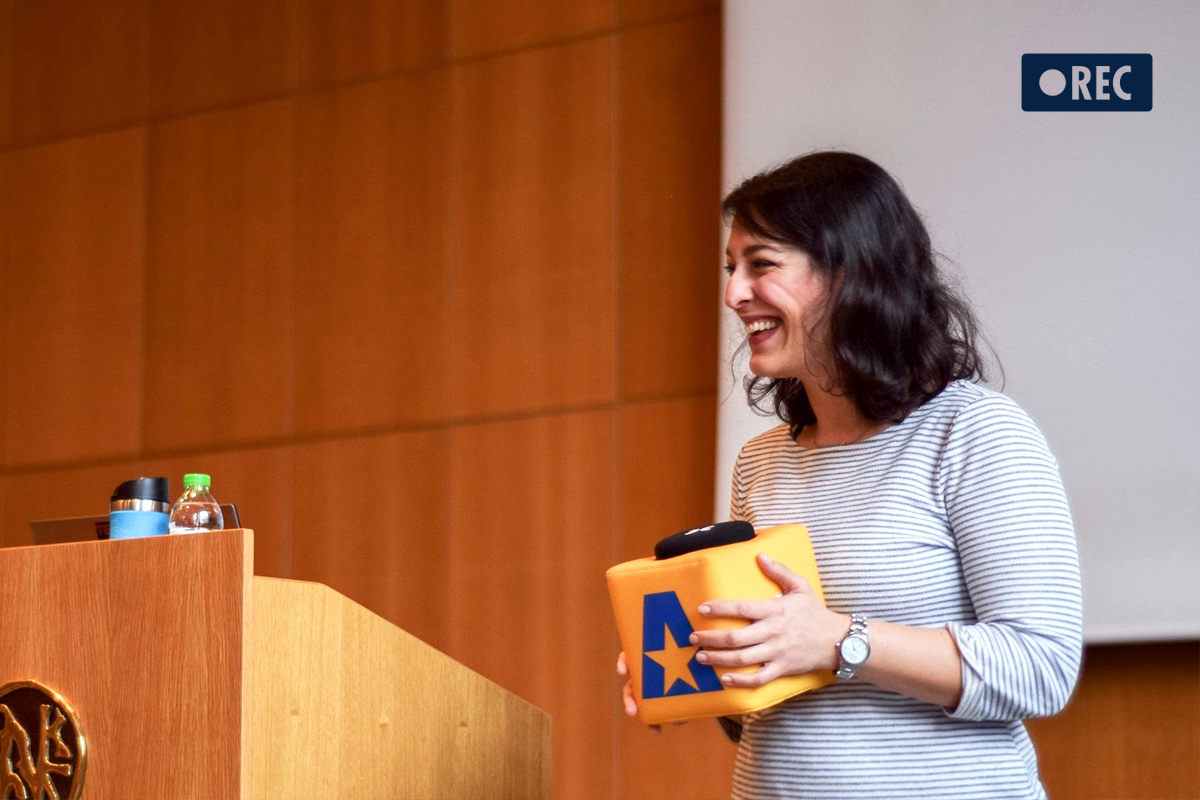
The throwable Catchbox mic isn’t just a gimmick. It genuinely helps ensure students are heard during lecture capture and live sessions, bridging the gap between in-person and remote learners, particularly in large lecture halls.
Ideal for hybrid learning
The audio is captured clearly, whether for streaming, recording, or amplifying live in classrooms and lecture halls.
IT-friendly
It’s not just easy for professors - it’s also designed with IT teams in mind. The system is robust but requires minimal maintenance, which is a win for overworked AV/IT staff handling multiple classrooms and lecture halls.
Multiple microphone options
Catchbox Plus includes three types of microphones:
the throwable Cube mic,
the Stick handheld mic,
and the lavalier clip-on mic.
The Clip Lavalier mic is especially useful for teachers who move around, as it is lightweight, easy to wear, and completely wireless, allowing for hands-free operation without restricting movement in lecture halls - no wires for the teacher to manage.

Versatility for different spaces
Catchbox Plus is designed to work in a variety of settings, from small seminar rooms to large multi-room lecture hall installations. Its ability to support up to four wireless microphones with a single Hub DSP receiver ensures that institutions can tailor their audio setup to their specific needs.

Ceiling mic alternative
Unlike ceiling microphones that struggle with clarity, Catchbox Plus ensures that the microphone is always positioned near the speaker for crystal-clear audio. The combination of throwable, handheld, and clip-on mics allows for seamless participation without losing any important discussions.
Great for transcription and accessibility
The system provides clear audio, making it ideal for transcription services and for students who are hard of hearing. Since the microphone stays close to the speaker, the captured audio is more accurate and easier to understand.
What universities are saying
A successful lecture capture system should work for everyone.
IT teams need a solution that’s reliable and easy to maintain, while professors need something simple that just works. At the same time, students - both in-person and remote - need clear, high-quality audio to stay engaged and access course content effectively.
Catchbox Plus makes this possible by reducing technical issues for IT teams, streamlining setup for instructors, and ensuring every student can hear and be heard.
As Jeffrey Levesque, Lead Information Technologist at URI, puts it: “I don’t just need crisp, clear audio. I also need it to be simple for my instructors to use. The simpler I can make it for them, the better.”
The University of Rhode Island (URI) is a great example of this balance in action. Managing AV setups across 150 classrooms led to inefficiencies and frequent support requests, from misplaced microphones to broken lavaliers.
By adopting Catchbox Plus as their standard, URI reduced AV support requests and improved efficiency for their IT team, while faculty found the system easier to use and students became more engaged in discussions.
Before you commit
For a limited time, universities can get a free trial of Catchbox Plus. It’s a no-pressure way to see if it solves your lecture capture and audio challenges. Worth a shot if you've been struggling with this.
Real-world success stories
Universities that have solved lecture capture
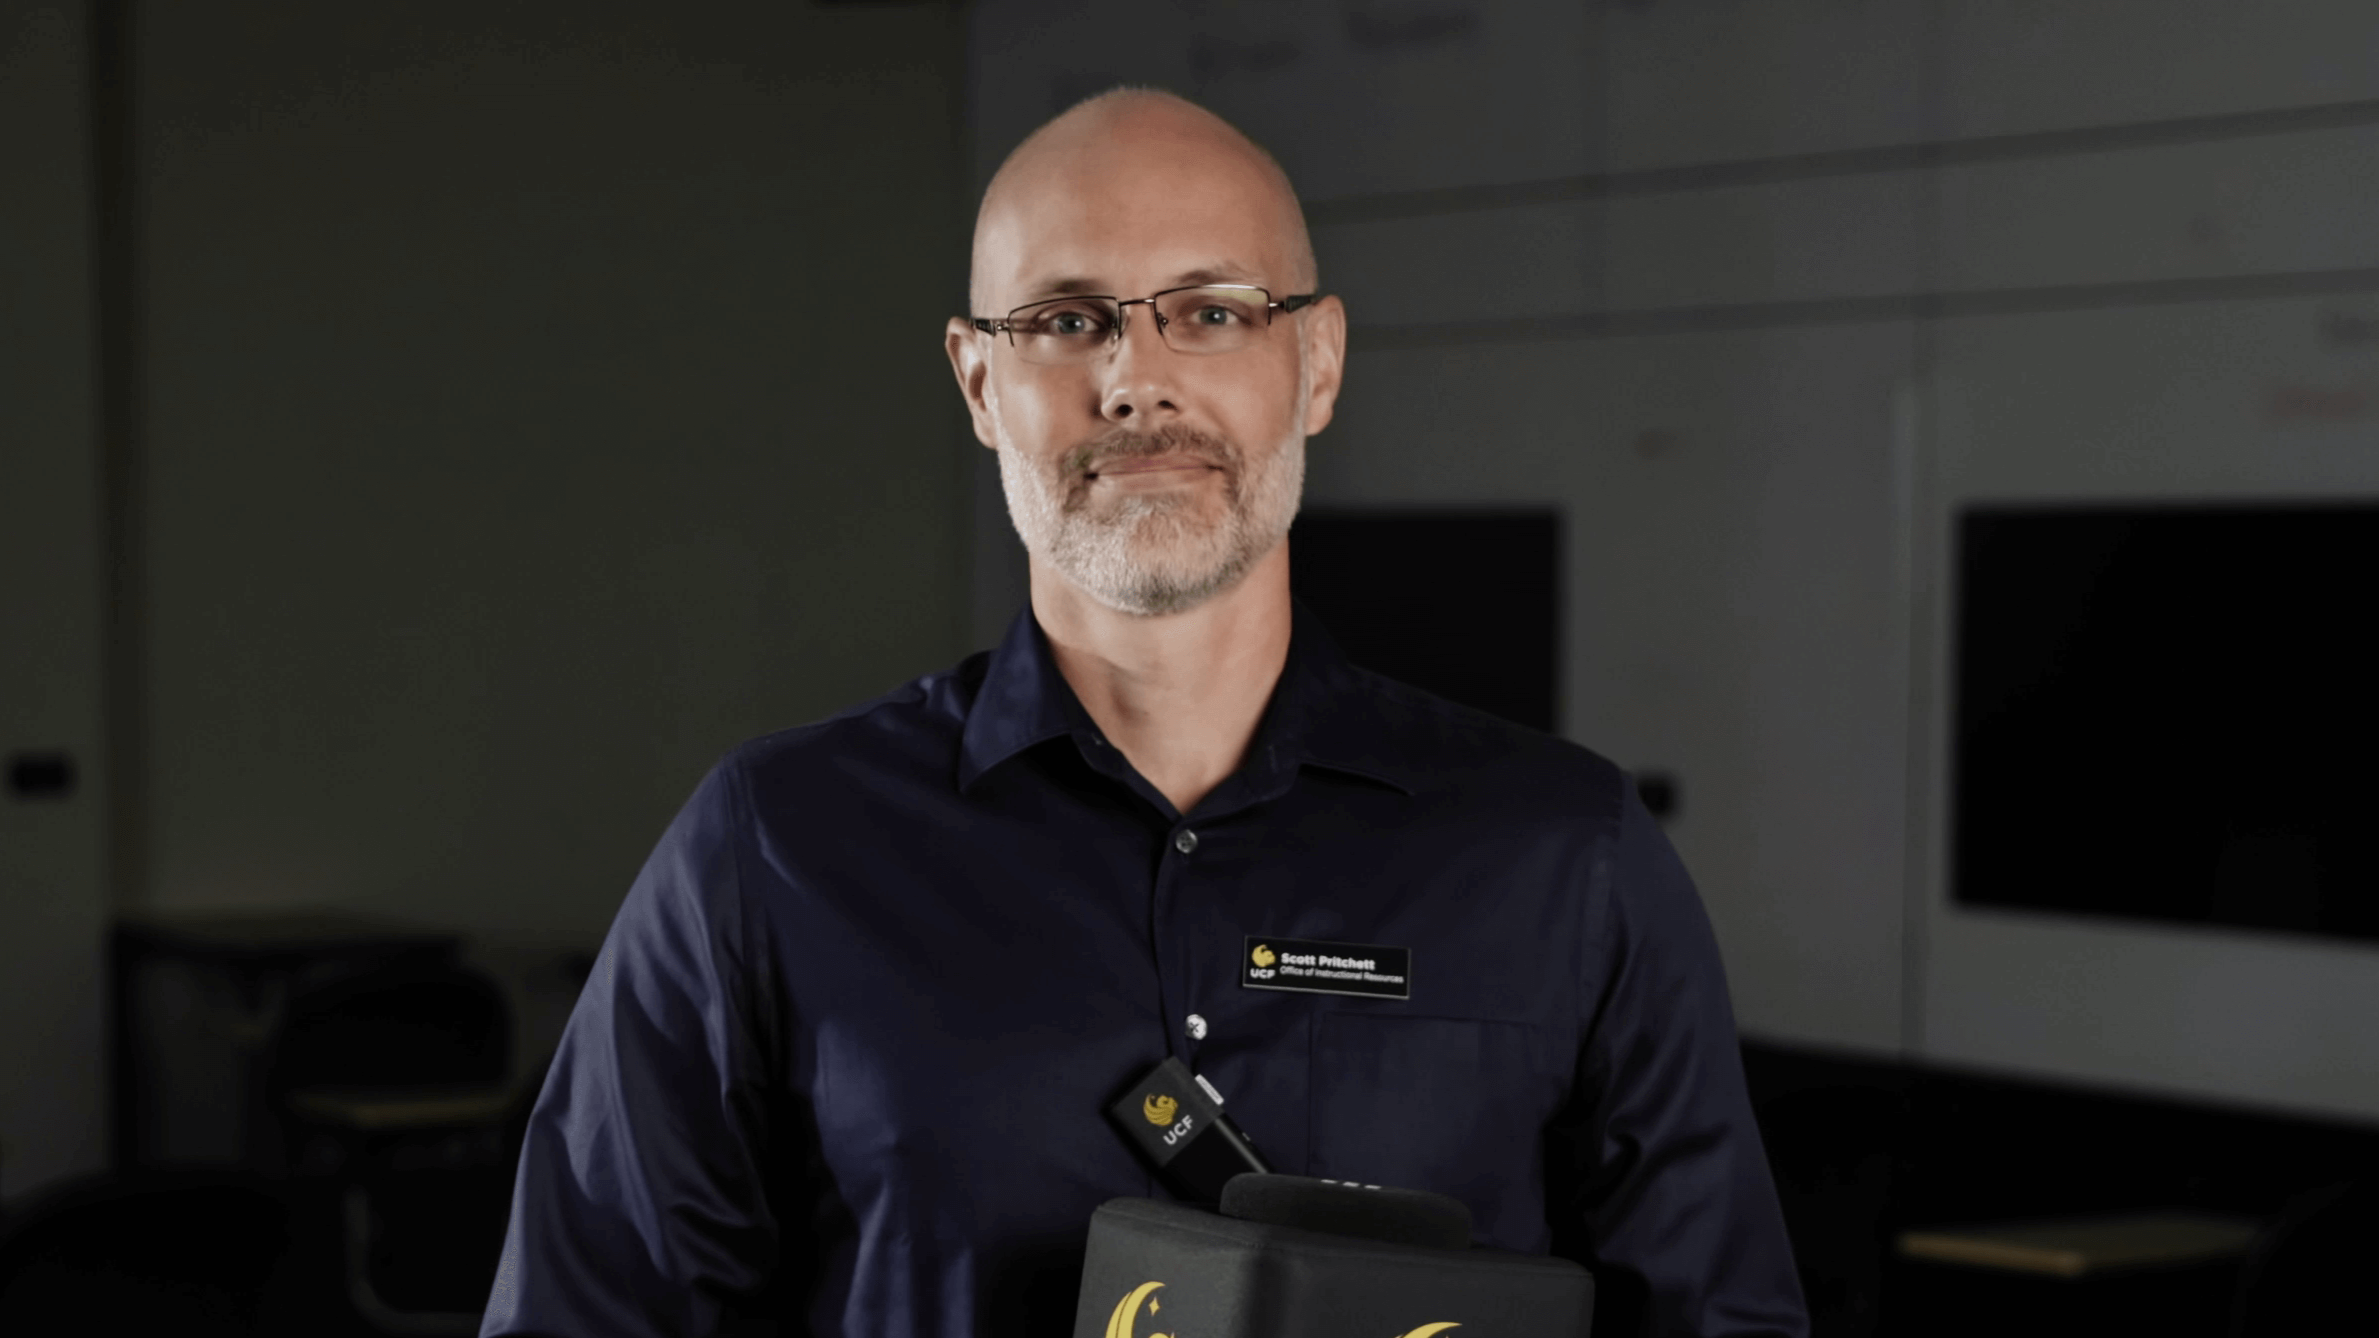
University of Central Florida
UCF solved accessibility challenges by integrating Catchbox microphones into over 400 classrooms and lecture halls, making lecture capture more inclusive.
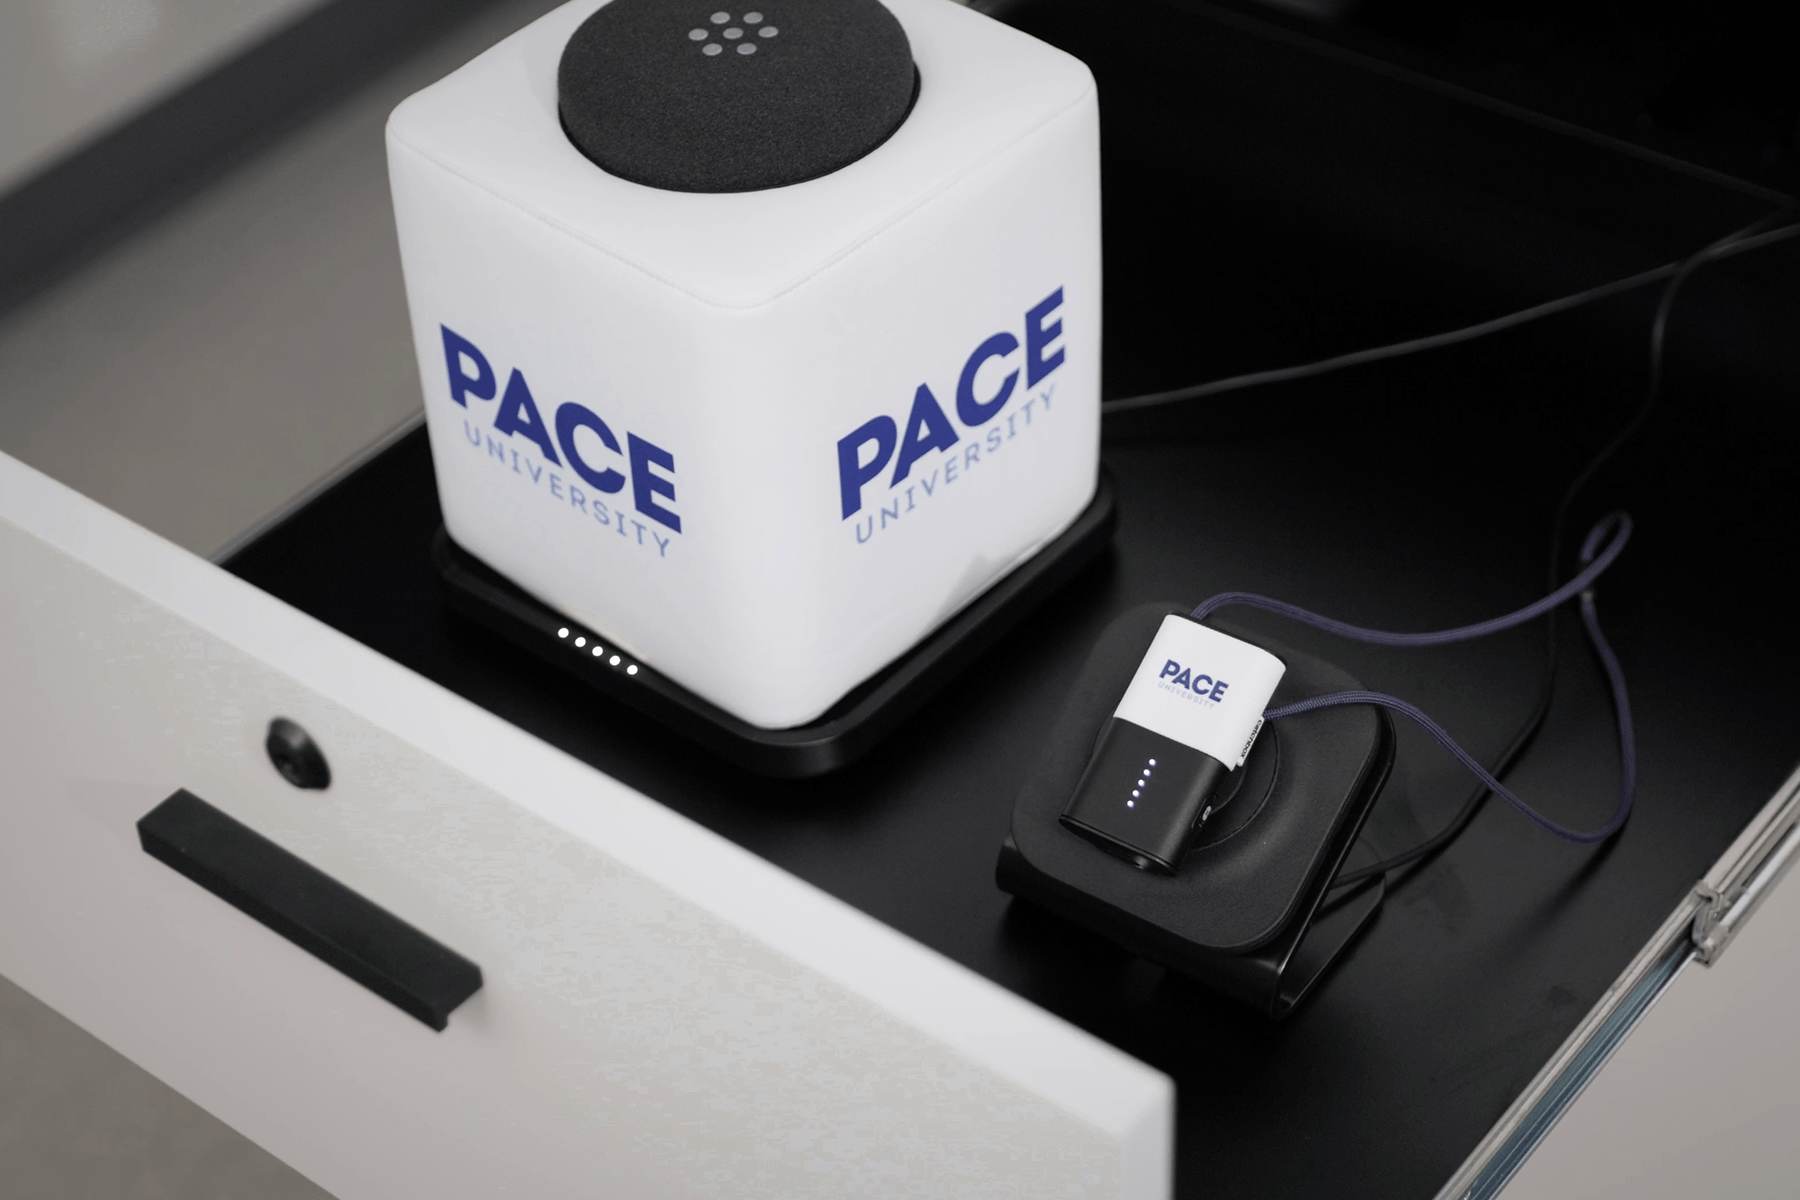
Pace University
Found it particularly helpful for HyFlex classrooms, supporting both in-person and remote learners with clear audio in lecture halls.